Summer is the perfect time to explore the great outdoors and capture the beauty of nature with a trail camera. Whether you're an avid wildlife enthusiast, a hunter, or simply enjoy observing the natural world, a trail camera can enhance your outdoor experience. This guide covers everything you need to know about choosing and using summer trail cameras, from selecting the right model to setting it up for optimal results. Discover how to make the most of your summer adventures with these essential tips and tricks for using trail cameras.
Understanding Trail Cameras
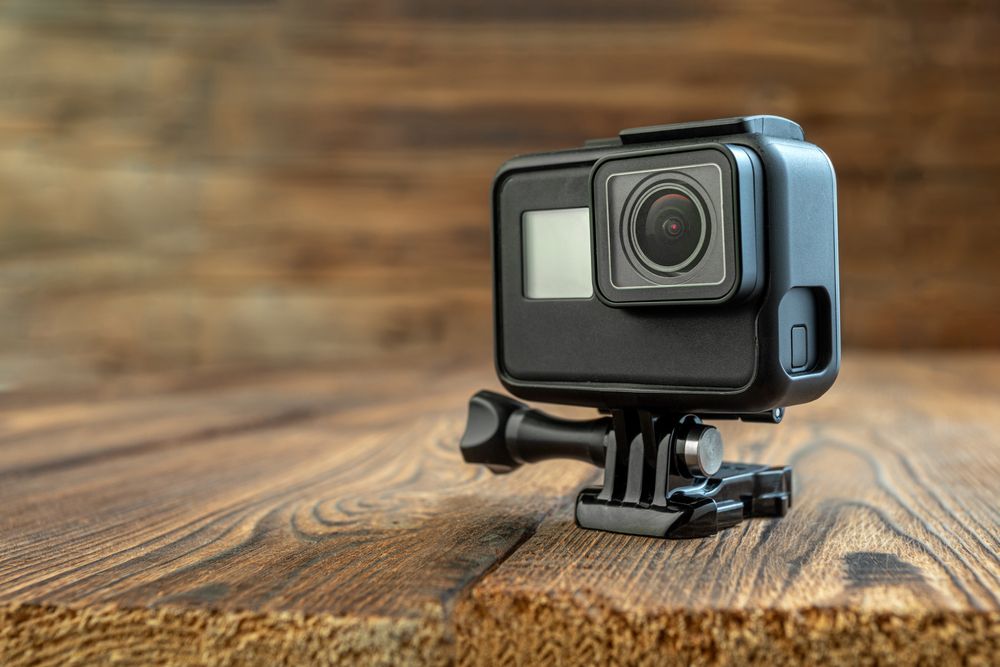
Trail cameras, also known as game cameras, are designed to capture images and videos of wildlife in their natural habitats. They are typically motion-activated and can be left in remote locations to record activity over extended periods. Trail cameras are widely used by hunters, researchers, and nature enthusiasts to monitor animal behavior, track movements, and even catch rare glimpses of elusive species. Understanding the basics of how trail cameras work is essential for choosing the right model and setting it up effectively. With the right trail camera, you can capture stunning wildlife images and videos this summer.
Choosing the Right Trail Camera
When selecting a trail camera for summer use, consider factors such as resolution, trigger speed, detection range, and battery life. Higher resolution cameras produce clearer images, while a fast trigger speed ensures you capture animals as they move through the frame. The detection range determines how far away an animal can be to trigger the camera, and longer battery life is essential for extended outdoor use. Additionally, consider whether you need features like night vision, time-lapse mode, or wireless connectivity. Choosing the right trail camera ensures you capture high-quality images and videos that meet your needs.
Setting Up Your Trail Camera
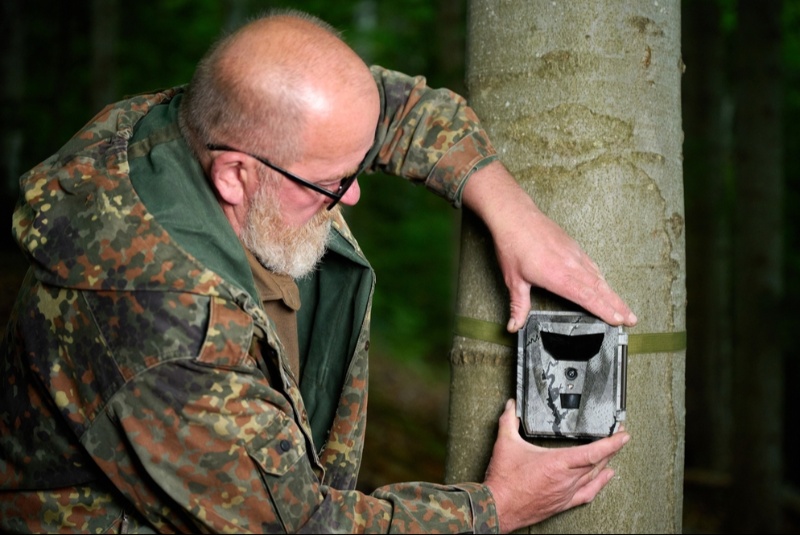
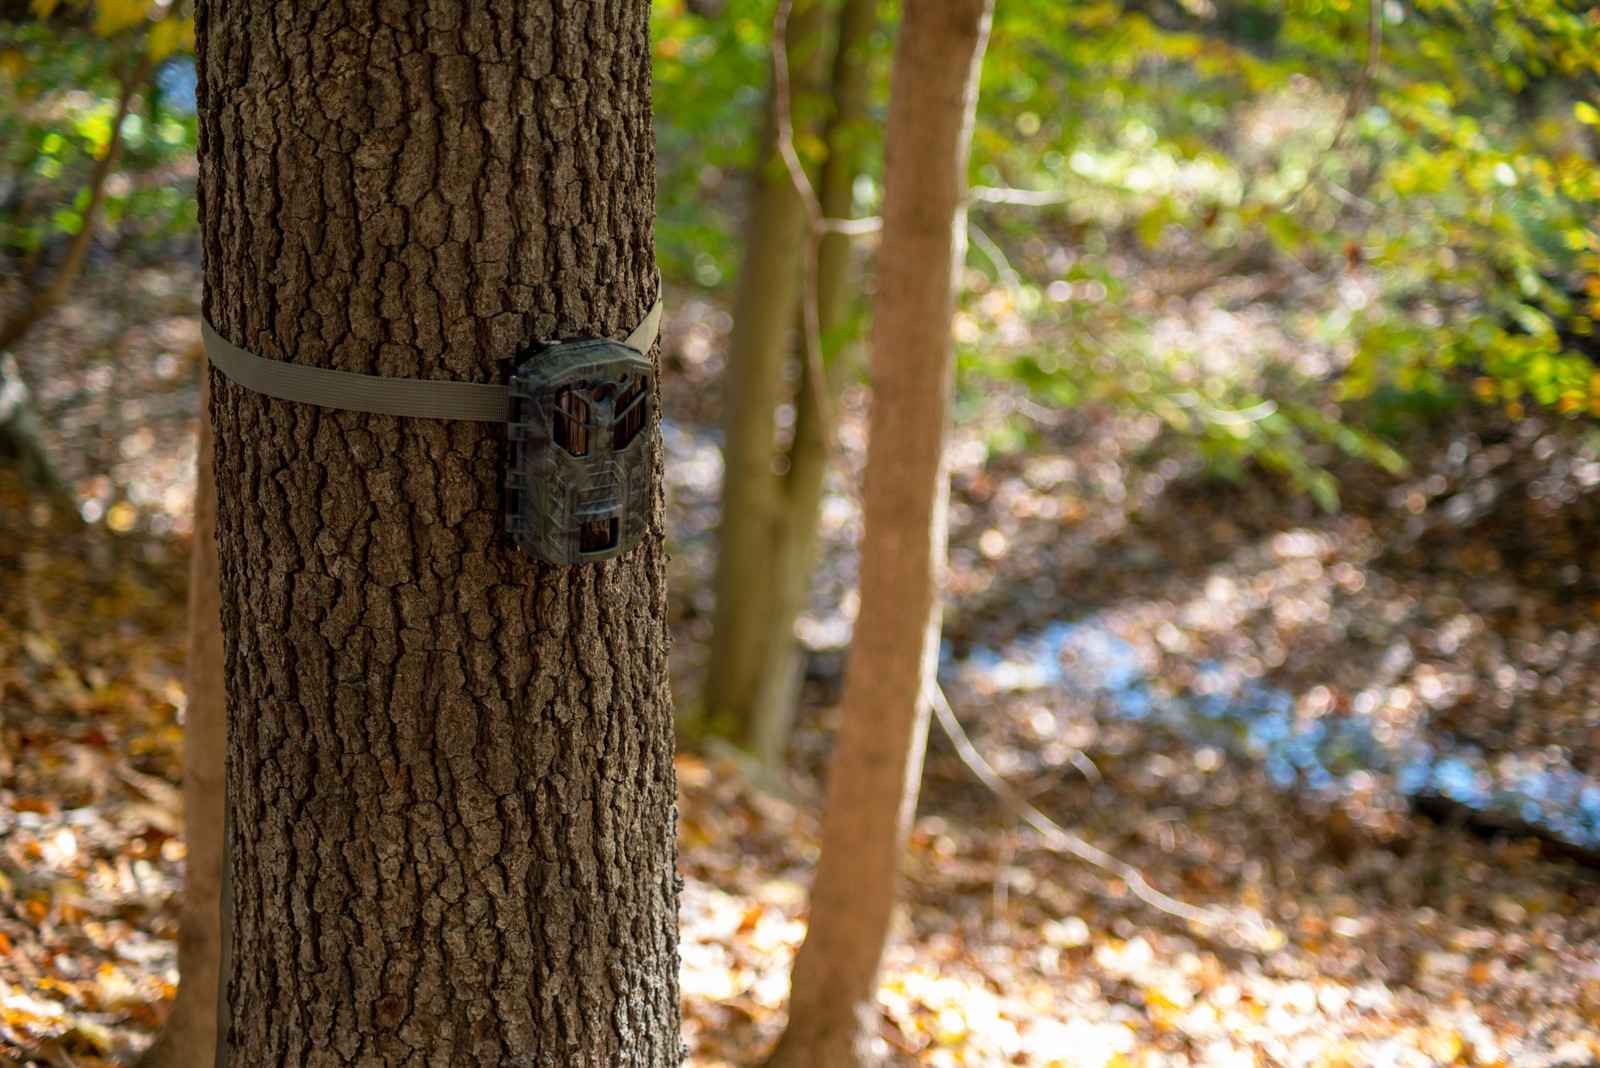
Proper setup is crucial for getting the best results from your trail camera. Start by selecting a location that is frequented by wildlife, such as a game trail, water source, or feeding area. Mount the camera at a height of 2-3 feet for smaller animals or higher for larger game. Ensure the camera is angled correctly to capture the desired field of view. Use camouflage or natural cover to conceal the camera and avoid disturbing wildlife. Finally, test the camera's positioning by triggering it yourself to ensure it's capturing the area you want. Setting up your trail camera correctly increases your chances of capturing exciting wildlife footage.
Understanding Camera Settings
Familiarizing yourself with your trail camera’s settings is essential for optimizing its performance. Adjust the resolution based on your needs—higher resolution for detailed images or lower resolution to save memory space. Set the trigger interval to control how often the camera takes photos after detecting motion. Use burst mode to capture multiple shots in quick succession or time-lapse mode to record at regular intervals. Night vision settings allow you to capture images in low light conditions. Understanding and customizing your camera settings helps you get the most out of your trail camera during the summer months.
Maintaining Your Trail Camera
Regular maintenance of your trail camera ensures it operates effectively throughout the summer. Check the batteries frequently and replace them as needed to avoid missing important shots. Clean the camera lens to ensure clear images and videos. If your camera uses an SD card, regularly check and format it to prevent data corruption. Protect the camera from extreme weather conditions by using weatherproof housings or covers. Additionally, periodically check the camera’s position and settings to ensure it continues to function as desired. Proper maintenance of your trail camera maximizes its lifespan and performance.
Capturing Nocturnal Wildlife
Many animals are most active at night, making night vision an essential feature for summer trail cameras. Most trail cameras are equipped with infrared LEDs that allow them to capture images in low light without startling the animals. To capture nocturnal wildlife effectively, choose a camera with a good night vision range and minimal glow or no-glow LEDs, which are less likely to spook animals. Position the camera in areas where nocturnal animals are known to roam, such as near water sources or dense vegetation. Capturing nocturnal wildlife adds a new dimension to your outdoor adventures, revealing the secret lives of animals after dark.
Using Trail Cameras for Birdwatching
Trail cameras aren’t just for tracking large game—they’re also excellent tools for birdwatching. Set up your camera near bird feeders, nests, or water sources to capture images of various bird species. Use a camera with a fast trigger speed and high-resolution settings to capture the quick movements of birds. Consider using a time-lapse mode to record bird activity over longer periods. Position the camera at different angles and heights to capture unique perspectives of birds in their natural environment. Using trail cameras for birdwatching allows you to observe and document the diverse avian life in your area.
Monitoring Wildlife Behavior
Trail cameras provide a unique opportunity to monitor and study wildlife behavior in their natural habitats. By setting up cameras in different locations, you can observe patterns in animal movements, feeding habits, and social interactions. Use multiple cameras to cover larger areas and gain a comprehensive understanding of the wildlife in your region. Review the footage regularly to identify behavioral trends and document interesting occurrences. Monitoring wildlife behavior with trail cameras not only enhances your understanding of local ecosystems but also contributes valuable data for conservation efforts.
Ensuring Ethical Wildlife Observation
When using trail cameras, it's important to follow ethical practices to minimize the impact on wildlife. Avoid placing cameras too close to nests, dens, or other sensitive areas where animals may feel threatened. Use camouflage to blend the camera into the environment and reduce human scent by wearing gloves when handling the camera. Respect the privacy of wildlife and avoid sharing footage that could lead to the exploitation or harm of animals. Ensuring ethical wildlife observation with trail cameras helps protect the natural behaviors of animals and supports responsible outdoor practices.
Analyzing and Sharing Your Footage
Once you’ve captured footage with your trail camera, take the time to analyze it and share your findings. Review the images and videos to identify species, behaviors, and patterns. Organize your footage by date, location, or species to create a comprehensive record of your observations. Consider sharing your best shots with wildlife communities, on social media, or in local nature groups. You can also contribute your data to citizen science projects that track wildlife populations and movements. Analyzing and sharing your trail camera footage helps you engage with the outdoor community and contribute to wildlife conservation efforts.
Using a trail camera during the summer opens up a world of possibilities for exploring and understanding nature. By choosing the right camera, setting it up correctly, and maintaining it throughout the season, you can capture stunning images and videos of wildlife in their natural habitats. Whether you're interested in birdwatching, monitoring nocturnal animals, or studying wildlife behavior, trail cameras provide an invaluable tool for enhancing your outdoor adventures. By following ethical practices and sharing your findings, you can contribute to conservation efforts and inspire others to appreciate the beauty of the natural world. Embrace the opportunities that trail cameras offer this summer and enjoy the thrill of capturing the wonders of wildlife.